Using PowerShell simplifies the process of creating, configuring, and managing these mailboxes efficiently, especially for IT admins handling multiple tasks. So let’s start the process of managing shared mailboxes in Office 365 by connecting to Exchange Online via PowerShell.
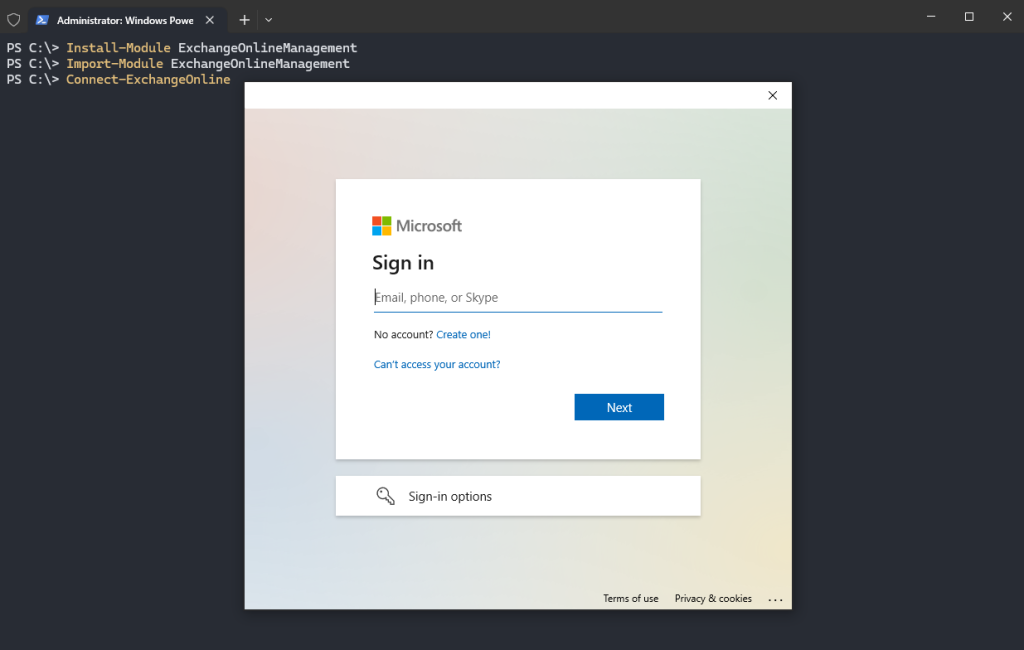
This command installs the required PowerShell module to manage Exchange Online. If it’s already installed, you can skip this step.
Install-Module ExchangeOnlineManagement
Now, you can import the installed module to make its functions available within the session
Import-Module ExchangeOnlineManagement
After importing the module, you can establishes a connection between your PowerShell session and Exchange Online.
Connect-ExchangeOnline
Make sure you use an account with the necessary administrative permissions to manage shared mailboxes. Once authenticated, you’re ready to execute commands to create and manage shared mailboxes.
To create a new shared mailbox, you can use the New-Mailbox command.
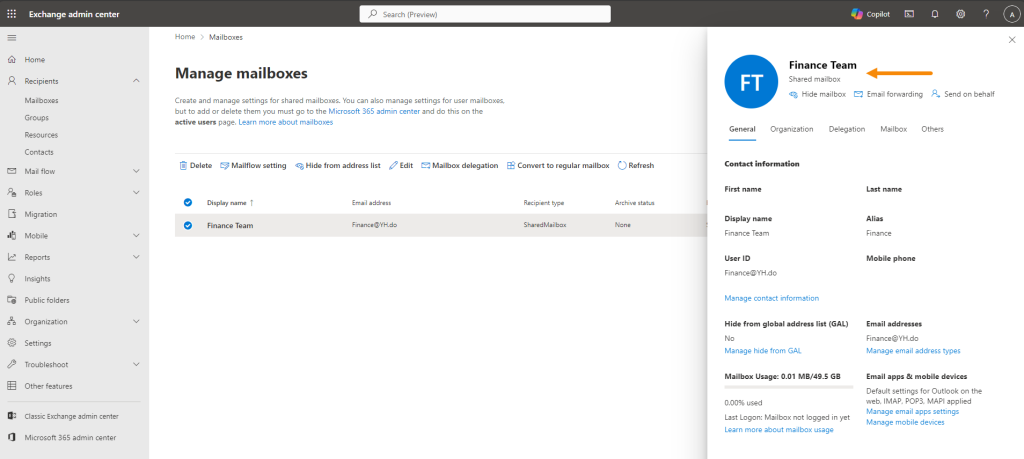
You can verify the creation of the shared mailbox in the Office 365 Exchange Admin Center. The new shared mailbox named “Finance Team” is listed under Manage mailboxes.
You can further configure the mailbox settings, such as mailbox delegation, access permissions, and email forwarding, directly from the dashboard. The mailbox is now ready for use by the team.
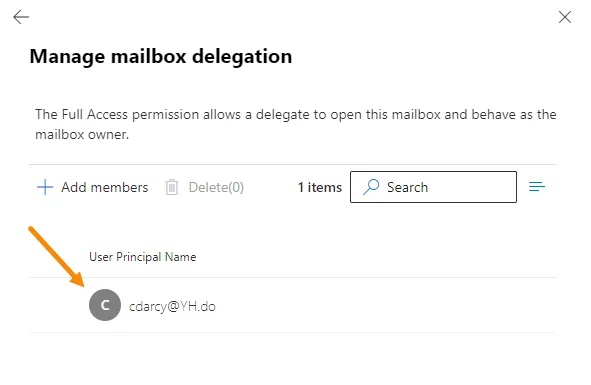
To grant FullAccess permissions to a specific user, such as “Claudia Darcy,” for the newly created shared mailbox:
Add-MailboxPermission -Identity "Finance" -User "Claudia Darcy" -AccessRights FullAccess -InheritanceType All
Now, the user “Claudia Darcy” can access and manage the shared mailbox. You can repeat this step for additional users if needed.
To grant SendAs permission to a user for the shared mailbox, you can use:
This verifies that the correct user has “Full Access” to the shared mailbox.
To give Send on behalf permissions, we use the cmdlet Set-Mailbox
NOTE: This will replace all existing users delegated Send on Behalf permissions In this example, we give the user “Annie Smith” Send on behalf permissions to the Shared Mailbox “Finance” (using the alias Finance).
As you can see, using PowerShell simplifies the process of creating, configuring, and managing mailboxes efficiently, especially for IT admins handling multiple tasks.
IT infrastructure engineer with over a decade of experience in enterprise environments. Specializes in hybrid cloud architecture, Windows Server administration, endpoint management, VMware vSphere virtualization, network infrastructure, cybersecurity, and enterprise backup and disaster recovery. Independent security researcher. Founder of SKYLAR - a remote device management and monitoring platform.